


How to Conduct a Comprehensive HVAC Inspection
As an HVAC professional, conducting thorough inspections is crucial for maintaining system efficiency, ensuring safety, and preventing costly repairs for your clients. Whether you’re a...
Jul 01, 2024
# of Minutes to Read


As an HVAC professional, conducting thorough inspections is crucial for maintaining system efficiency, ensuring safety, and preventing costly repairs for your clients. Whether you’re a seasoned technician or new to the field, following a systematic approach to HVAC inspections will help you deliver top-notch service. A well-executed inspection not only ensures the smooth operation of heating and cooling systems but also builds trust with your clients, reinforcing your role as a reliable and knowledgeable expert in the field. Here’s a comprehensive guide to help you conduct an effective HVAC inspection.
Why Comprehensive HVAC Inspections Matter
Maintaining System Efficiency: Regular inspections help ensure that HVAC systems are running at peak efficiency. An efficient system uses less energy, which translates to lower utility bills for your clients and a reduced environmental impact. By identifying and addressing issues like dirty filters, leaking ducts, or incorrect refrigerant levels, you can optimize system performance and extend its lifespan.
Ensuring Safety: Safety is a top priority in any HVAC inspection. Faulty electrical connections, cracked heat exchangers, and gas leaks can pose serious risks to occupants. Thorough inspections help identify and mitigate these hazards, ensuring the safety and well-being of your clients. For instance, checking for carbon monoxide leaks and ensuring proper ventilation can prevent potentially life-threatening situations.
Preventing Costly Repairs: Routine inspections can catch small problems before they become major issues. Early detection of wear and tear, leaks, or component failures can save your clients from expensive repairs or even system replacements. By providing preventative maintenance, you help clients avoid unexpected breakdowns and the associated inconvenience and costs.
Enhancing Client Satisfaction: Delivering consistent, high-quality service builds trust and loyalty among your clients. A comprehensive inspection followed by clear communication about findings and recommendations demonstrates your commitment to their comfort and safety. Satisfied clients are more likely to recommend your services and call on you for future needs.
Pre-Inspection Preparation
Before you begin the inspection, gather all necessary tools and equipment. This includes:
- Thermometers
- Manometers
- Multimeters
- Inspection mirrors
- Flashlights
- Wrenches and screwdrivers
- Safety gear (gloves, goggles, etc.)
Review the system’s history and any previous inspection reports. Understanding past issues can provide insight into potential problem areas.
Initial System Assessment
Start with a general assessment of the system. Check for any obvious signs of wear and tear, damage, or unusual noises. Ask the homeowner or building manager about any recent performance issues or irregularities.
Thermostat Check
Verify that the thermostat is functioning correctly:
- Ensure it is properly calibrated.
- Check that it responds accurately to temperature changes.
- Confirm the programming is appropriate for the client’s schedule and preferences.
Inspect Electrical Connections
Electrical issues can lead to system failures or hazards. Carefully inspect all electrical connections:
- Tighten any loose connections.
- Check for signs of corrosion or wear.
- Measure voltage and current to ensure they are within the manufacturer’s specifications.
Evaluate Air Filters
Clogged or dirty air filters can significantly reduce system efficiency:
- Remove and inspect air filters.
- Clean or replace them if necessary.
- Advise the client on the importance of regular filter maintenance.
Examine Ductwork
Efficient airflow is critical for HVAC performance:
- Inspect ducts for leaks, blockages, or disconnections.
- Check for signs of mold, dust, or debris buildup.
- Recommend duct cleaning if needed.
Test System Operation
Run the system through a complete heating and cooling cycle:
- Monitor the system’s startup and shutdown sequences.
- Check for unusual noises, vibrations, or odors.
- Measure the temperature differential between supply and return air.
Inspect Refrigerant Levels
Refrigerant issues can severely impact cooling performance:
- Use a manifold gauge to measure levels.
- Look for signs of leaks or damage to refrigerant lines.
- Recharge refrigerant if levels are low, ensuring no leaks are present.
Examine the Condenser and Evaporator Coils
Clean coils ensure efficient heat transfer:
- Inspect both the condenser and evaporator coils for dirt, dust, or damage.
- Clean the coils if they appear dirty.
- Check the fins for damage and straighten them if necessary.
Check the Blower and Motor Assembly
The blower motor is essential for proper airflow:
- Inspect the blower wheel and motor for dust buildup or damage.
- Lubricate moving parts if needed.
- Measure motor amperage to ensure it’s within acceptable limits.
Inspect the Condensate Drain
A clogged condensate drain can lead to water damage and mold growth:
- Check the condensate drain for blockages.
- Clean the drain line and ensure it’s properly draining water.
- Look for signs of water damage around the drain area.
Evaluate the Heat Exchanger
A cracked heat exchanger can pose serious safety risks:
- Carefully inspect the heat exchanger for cracks or corrosion.
- Use a combustion analyzer to check for proper combustion and the presence of carbon monoxide.
- Replace the heat exchanger if any damage is found.
Review the System’s Overall Performance
Summarize your findings and review the system’s overall performance:
- Provide a detailed report to the client, including any issues found and recommended repairs.
- Offer maintenance tips to improve system longevity and efficiency.
- Schedule a follow-up visit if necessary to address any major issues.
Utilize Field Service Management Software
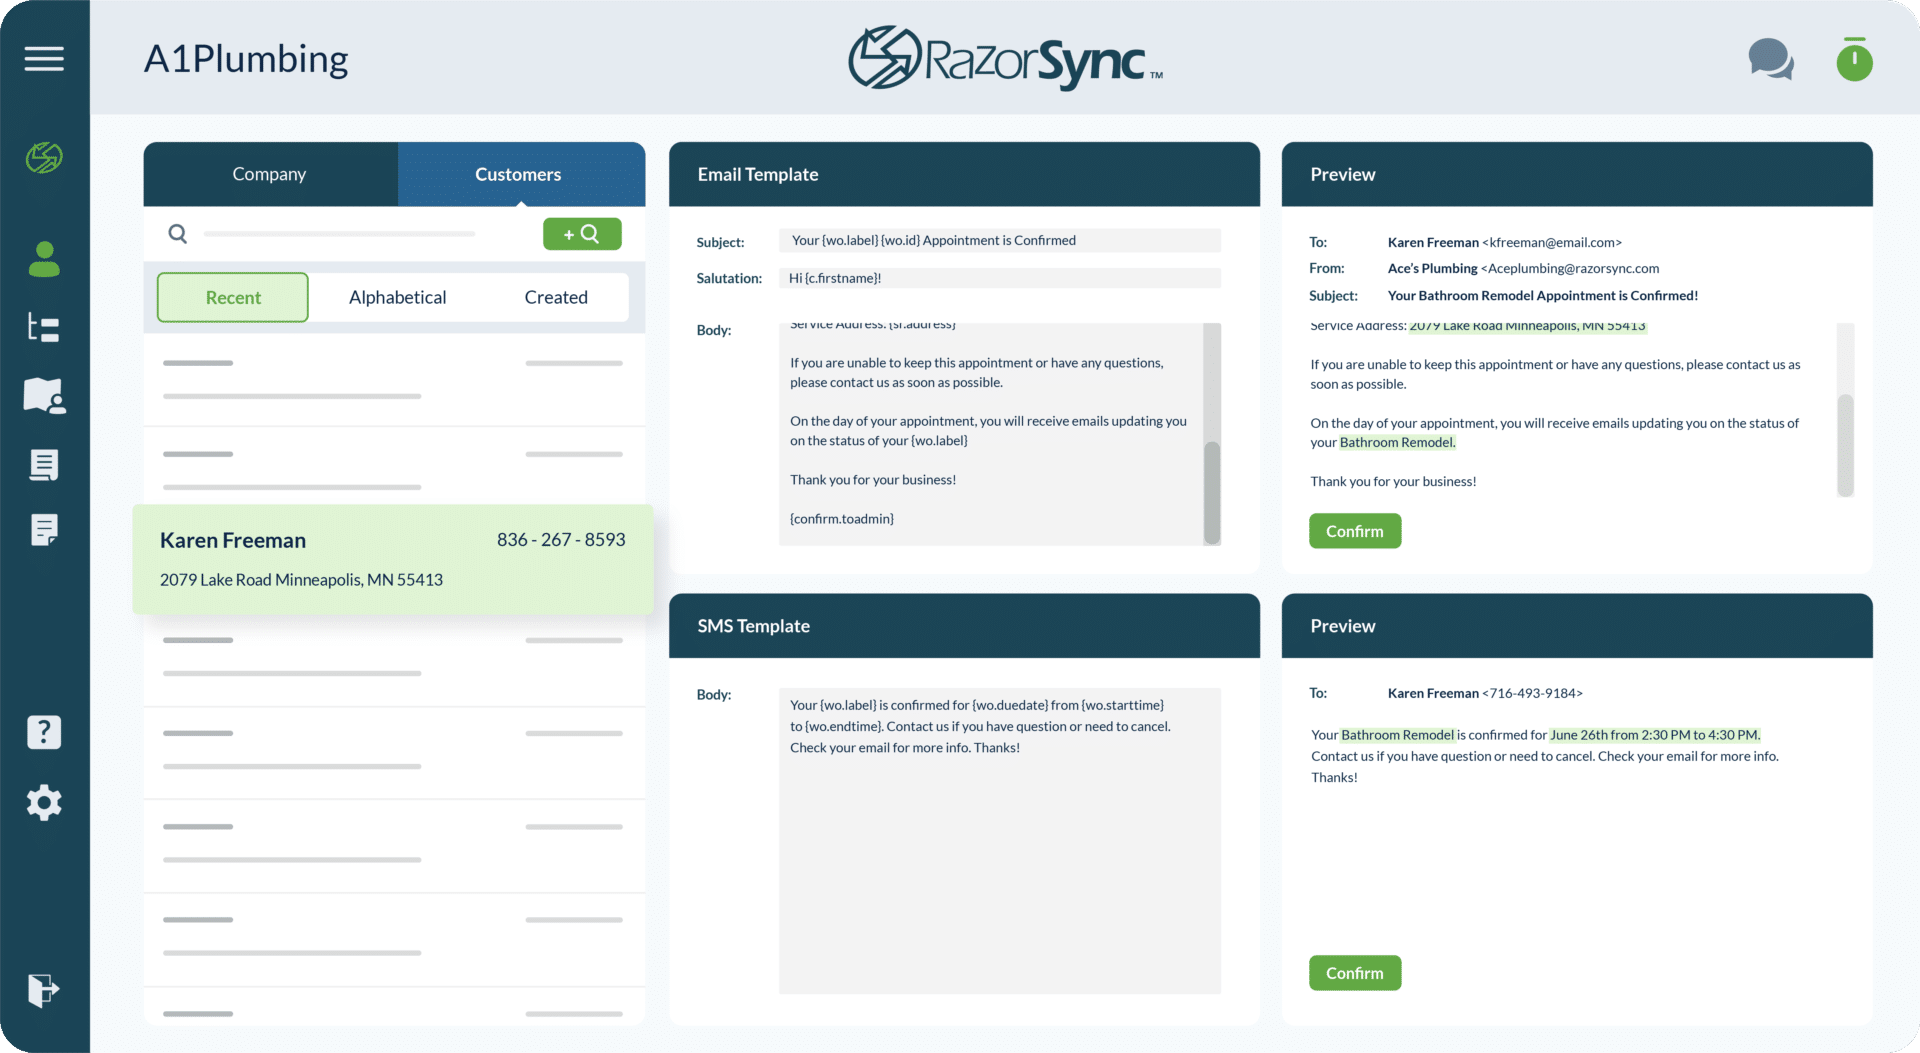
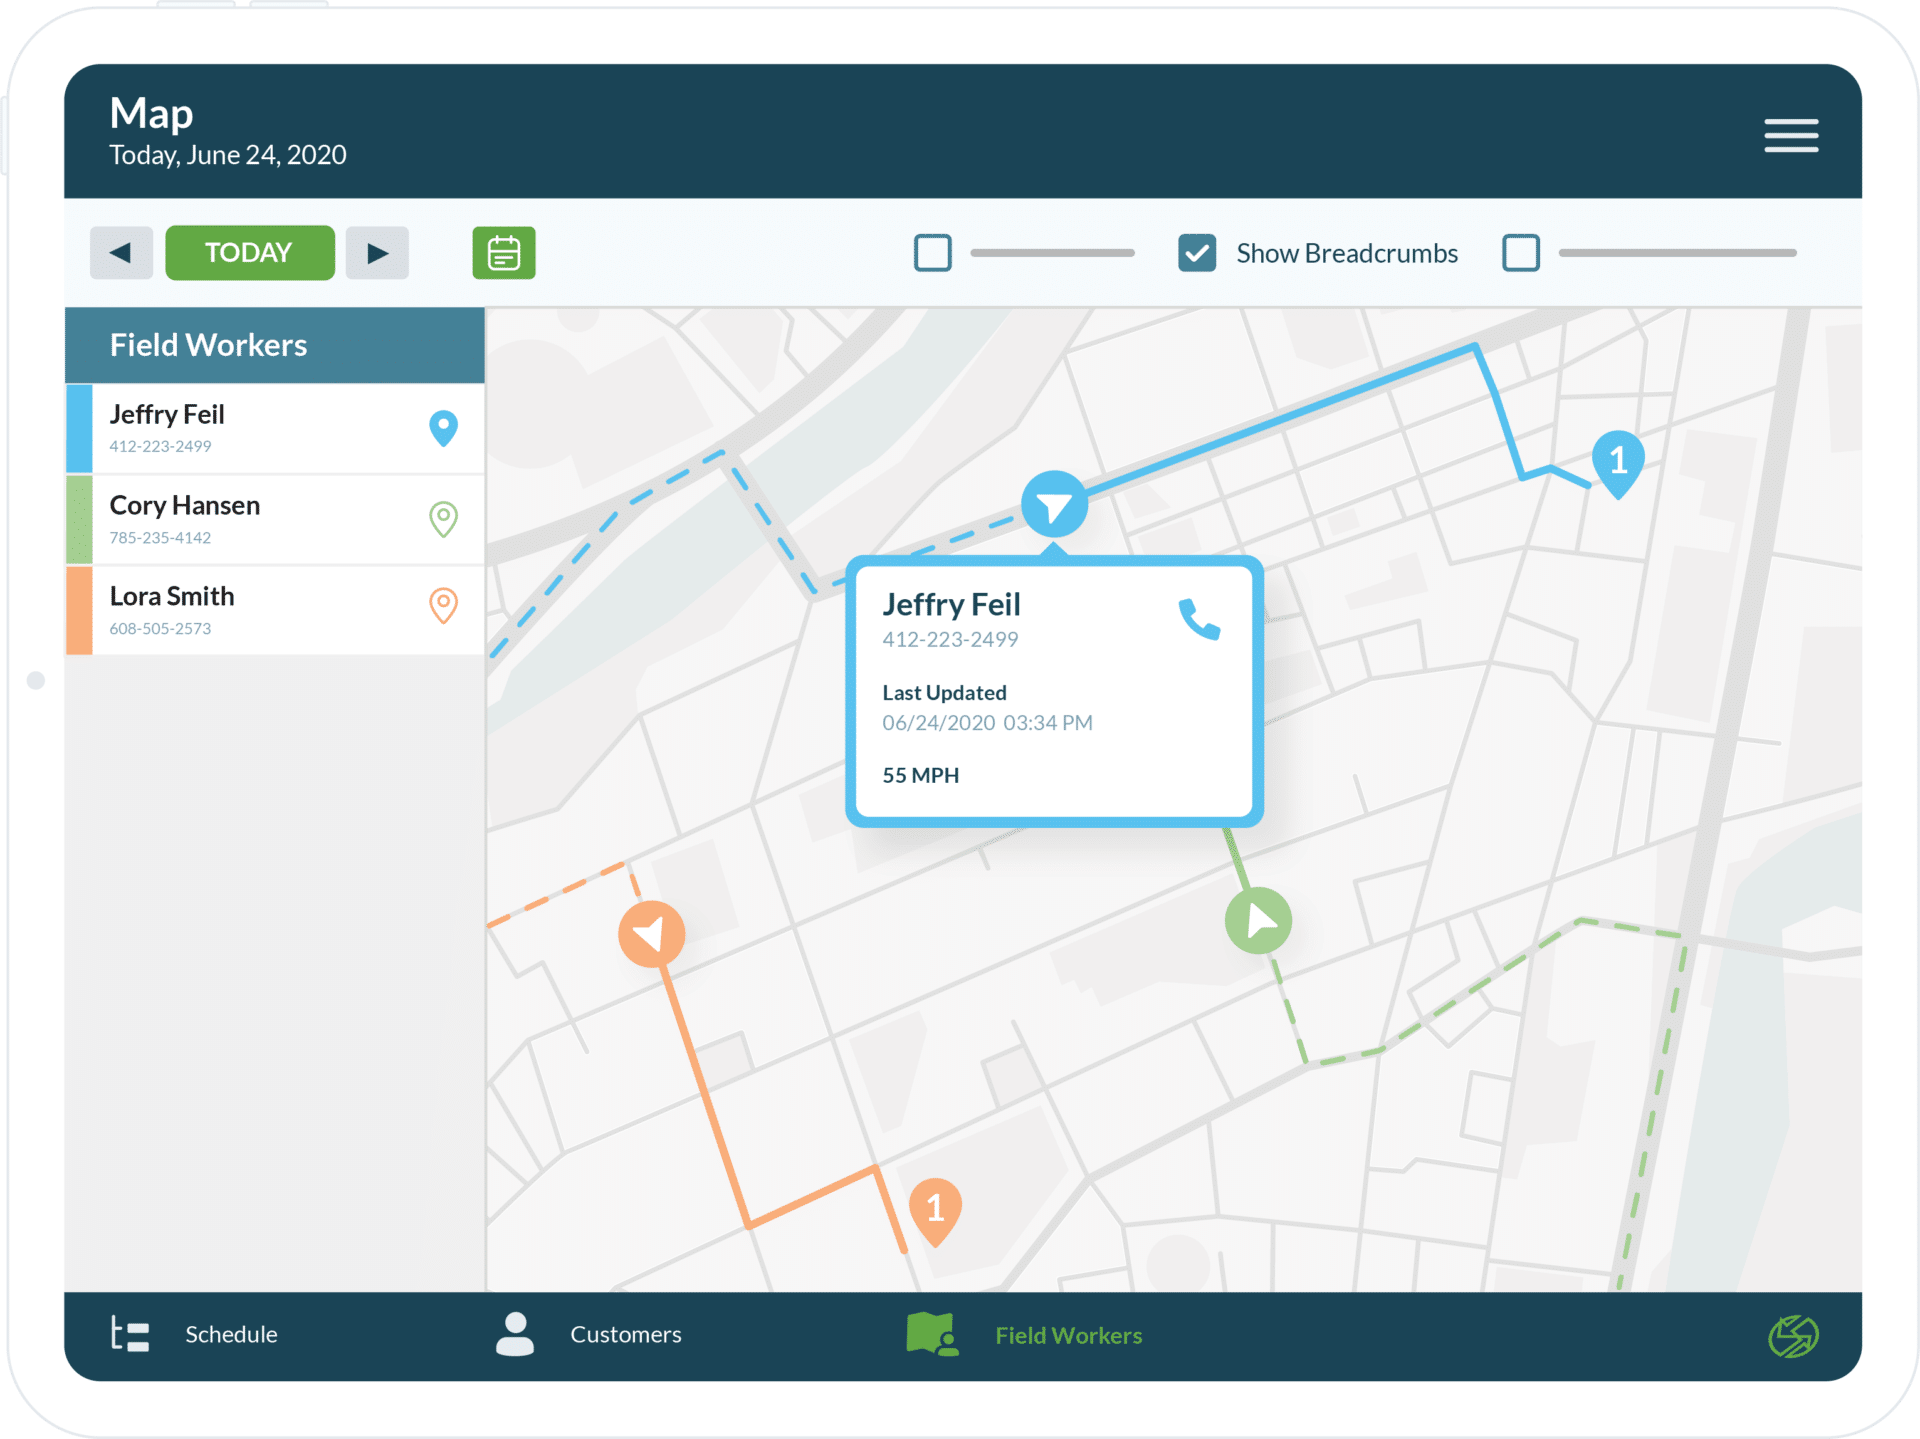
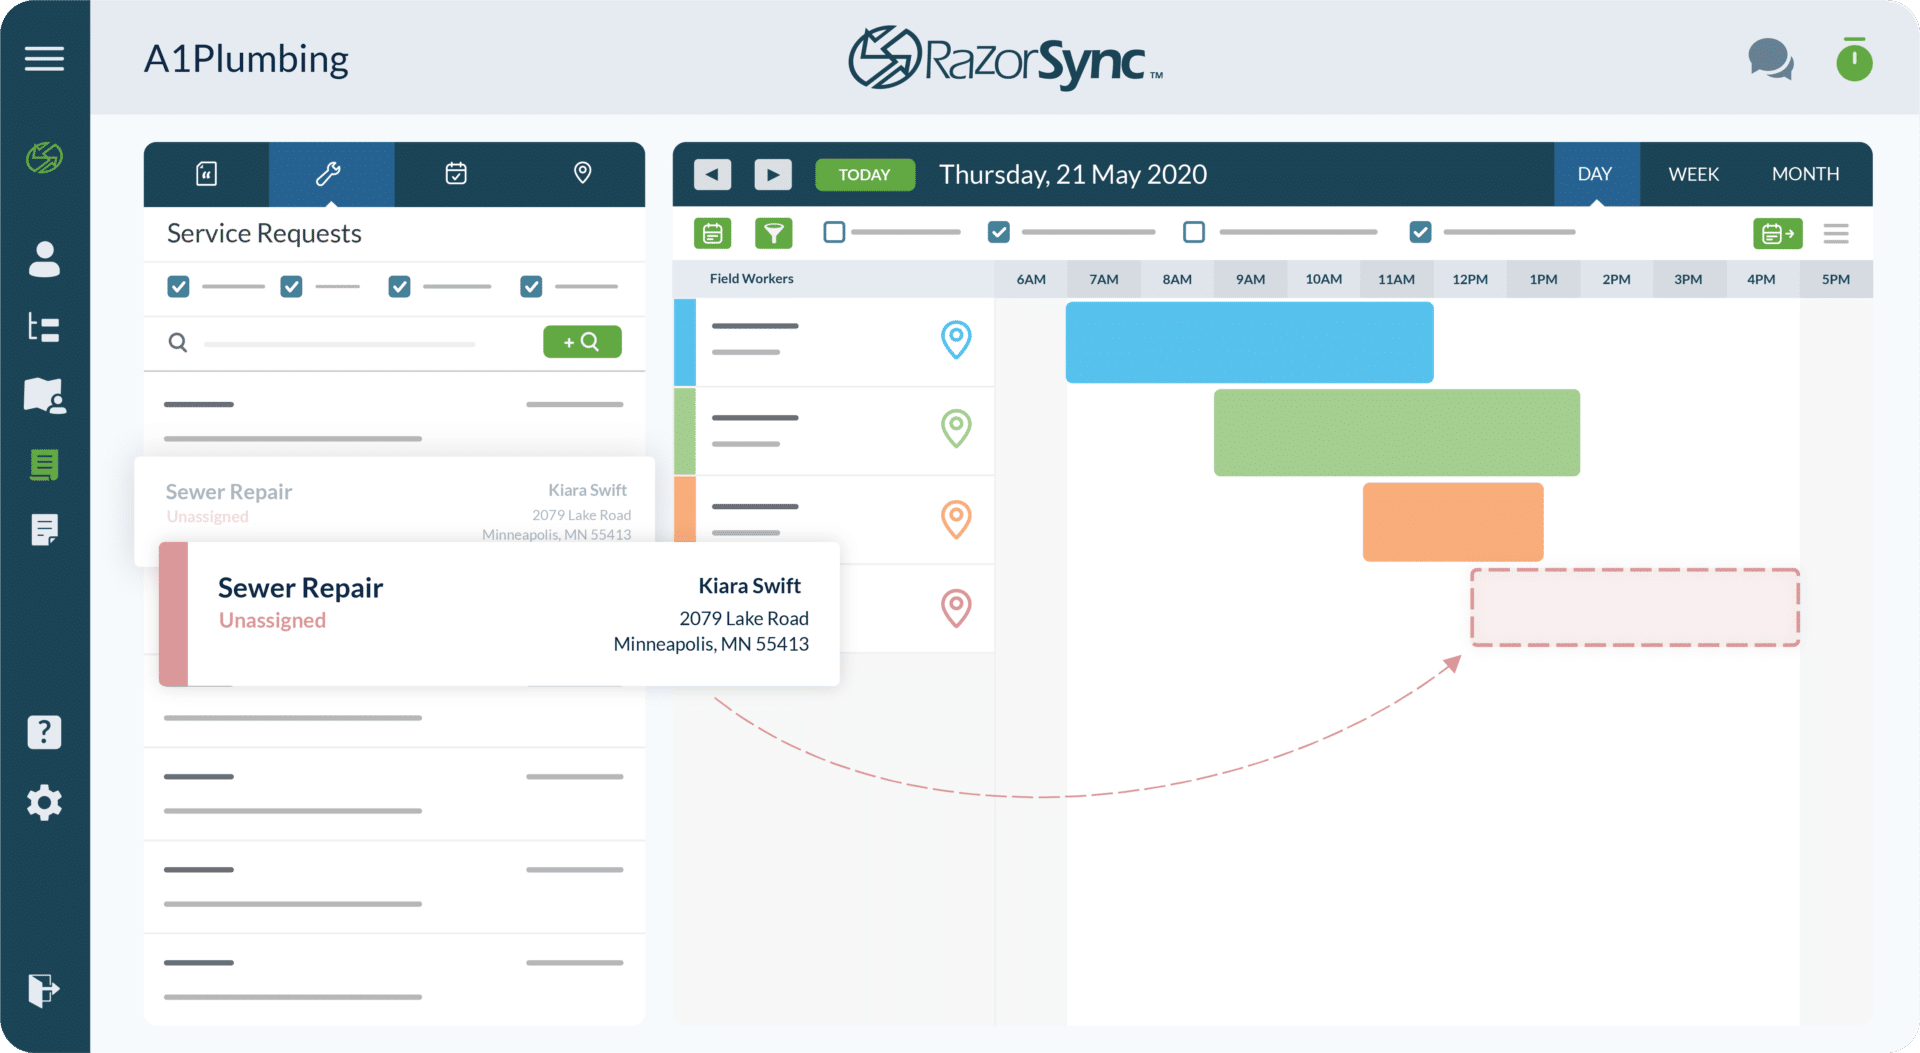
Incorporating field service management software like RazorSync into your inspection routine can greatly enhance efficiency and accuracy:
- Streamlined Scheduling: Efficiently manage and schedule your inspections, reducing downtime and increasing productivity.
- Digital Documentation: Easily record inspection findings, take photos, and generate reports directly from your mobile device.
- Real-Time Updates: Access client histories, past inspection reports, and system specifications on the go, ensuring you have all the information you need.
- Enhanced Communication: Quickly share inspection reports and recommendations with clients via email or through a client portal, improving transparency and trust.
Conducting a comprehensive HVAC inspection is essential for ensuring optimal system performance and client satisfaction. By following these steps, you can identify potential issues early, recommend appropriate solutions, and help your clients maintain a comfortable and safe environment. Remember, a thorough inspection not only protects the HVAC system but also enhances your reputation as a trusted HVAC professional. Incorporating RazorSync into your routine can further streamline your processes, allowing you to deliver even better service to your clients. Start your free trial.